Cable Gland Basics
We all know cable gland, but how to install cable gland properly? When it comes to installing cable glands, there are several factors that need to be considered. The first and foremost is the size of the gland. It is important to choose a gland that fits the diameter of your cable snugly, but not too tightly, as this can cause damage to both the cable and the gland itself.
Another factor to consider when installing a cable gland is the material it is made from. Different materials have different properties that make them more suitable for certain applications. For example, brass is often used in harsh environments due to its corrosion resistance, while plastic glands are lighter and more cost-effective.
Proper installation technique is key when it comes to ensuring a tight seal around the cables being inserted into a gland. This involves properly tightening all components of the gland without over-tightening which could lead to cracking or distortion of parts which in turn could compromise electrical safety or even cause malfunctioning equipment leading up to potential hazards on-site operations. With these considerations in mind, proper installation of cable glands will help ensure reliable electrical connections and safe operation overall.
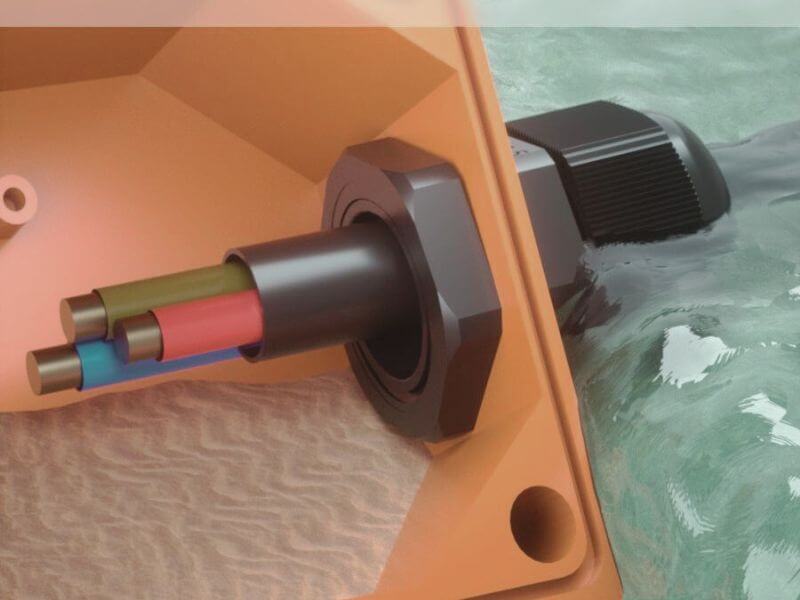
Step 1: Measure and Prepare the Cable
The first step in installing a cable gland is to measure and prepare the cable. This involves taking accurate measurements of the cable’s diameter and length so that the correct size gland can be chosen. It is important to ensure that the cable gland fits snugly around the cable, without any gaps or spaces.
Once you have measured your cable, it’s time to prepare it for installation. This may involve stripping off some of the outer insulation if necessary or cutting down the excess length. Be careful not to damage any of the wires inside while doing this.
After preparing your cable, you should clean it thoroughly with a suitable solvent such as alcohol or acetone. This will help to remove any dirt or debris that could interfere with the installation process. Once your cable is clean and dry, you’re ready to move on to Step 2: Installing the Cable Gland!
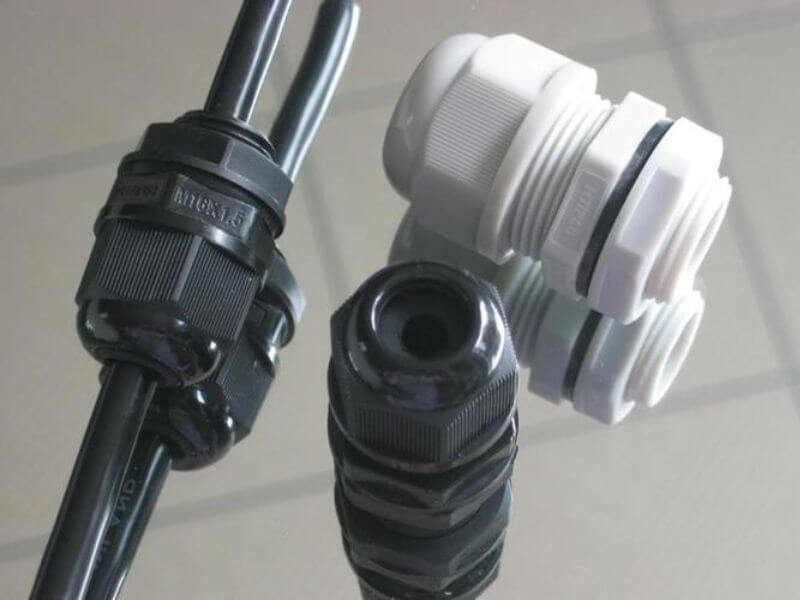
Step 2: Select the Right Gland
When it comes to installing cable glands, selecting the right gland is critical for ensuring that your cables are protected from dust, water, and other environmental factors. The first step towards selecting the right gland is to determine the size of your cable. This will be used as a guide when choosing the appropriate size of gland for your application.
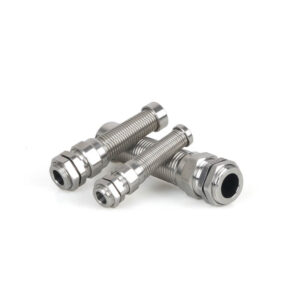
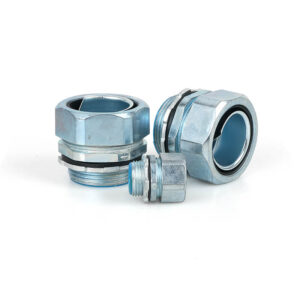
Another important factor to consider when selecting a gland is its material composition. Different materials offer varying levels of durability and resistance to corrosion, so it’s essential to choose one that suits your specific needs. For instance, if you’re working in environments with high humidity or moisture levels, you may want to go for a gland made of stainless steel or brass.
Lastly, consider the type of seal that best suits your installation requirements. There are two main types: compression seals and displacement seals. Compression seals require tightening around the cable jacket while displacement seals push aside any debris present on the surface before securing it. Understanding these key considerations will help you make an informed decision when selecting the right gland for your installation project.
Step 3: Install the Gland Body
When installing a cable gland, it is important to ensure that the gland body is properly installed. The first step is to determine the size of the hole that will be needed for the gland. Once you have determined this, use a drill or hole saw to create the appropriate size hole in your chosen location.
Next, insert the gland body into the hole from the outside and screw it down tightly with a wrench or pliers. Make sure that you do not overtighten as this can damage both the cable and equipment.
Once tightened, check that there are no gaps between the equipment and the gland body. If there are any gaps, use a sealant to fill them in order to prevent any moisture from entering. A properly installed gland body ensures the proper function of your cable glands and prevents any potential hazards such as water infiltration or electrical shock.
Step 4: Secure the Locknut
Once you have inserted the cable through the gland body and tightened the compression nut, it is time to secure the locknut. The locknut is an essential component that ensures the gland remains in place and prevents any potential damage to your cable over time. To install it correctly, use a wrench to tighten it clockwise by hand initially, followed by a final tightening with pliers or a spanner. Ensure not to overtighten as this could damage the entire setup.
When securing the locknut, ensure that there is no gap between it and the compression nut. This will help keep moisture and other contaminants from entering your installation environment, which could cause problems later on. Additionally, make sure that both nuts are firmly secured without putting too much pressure on any one point of contact.
Overall, securing the locknut is an important step in properly installing a cable gland system. It helps prevent stress on cables caused by environmental factors such as vibration or movement while ensuring electrical safety within your wiring setup. By adhering to proper installation guidelines for cable glands and paying attention to detail during each step of this process, you can create a reliable system for your next project.
Step 5: Check for Air Tightness
Air tightness is a crucial element to consider when installing cable glands. Once the gland is in place, it must be checked to ensure that there are no gaps or openings where air can seep through. This will help prevent moisture and other contaminants from entering the enclosure and causing damage to the electrical components. One way to check for air tightness is by performing a pressure test on the enclosure after installation.
During a pressure test, the enclosure is pressurized with air using a pump or compressor while all openings, including cable glands, are sealed off. A gauge measures how much pressure is required to achieve a certain level of inflation inside the enclosure. If there are leaks in any of the cable glands, this will be detected by a drop in pressure during the test. To fix any leaks found during testing, sealants and gaskets can be used around cable gland entries.
In addition to preventing contamination from entering an enclosure, achieving air tightness can also help prolong equipment life by protecting electrical components from exposure to moisture and other harmful environmental factors. Therefore, taking time to properly install and check for air tightness of cable glands is essential for ensuring the reliability and longevity of electronic systems.
Conclusion: Professional Installation
In conclusion, how to install cable gland properly? It is highly recommended to seek professional installation for cable gland fittings. While it may seem like a simple task to install these components, improper installation can lead to serious consequences such as electrical hazards and damage to equipment. Professional installers have the necessary knowledge and skills to ensure that the cable glands are installed correctly.
Moreover, opting for professional installation can save time and money in the long run. DIY installations may seem cost-effective at first, but mistakes made during the process could lead to expensive repairs or replacements down the road. With professional installation services, you can rest assured that your cable glands are installed properly from start to finish.
Overall, investing in professional installation services for your cable gland fittings is a wise decision that will provide peace of mind while ensuring safety and efficiency in your equipment’s operation.

